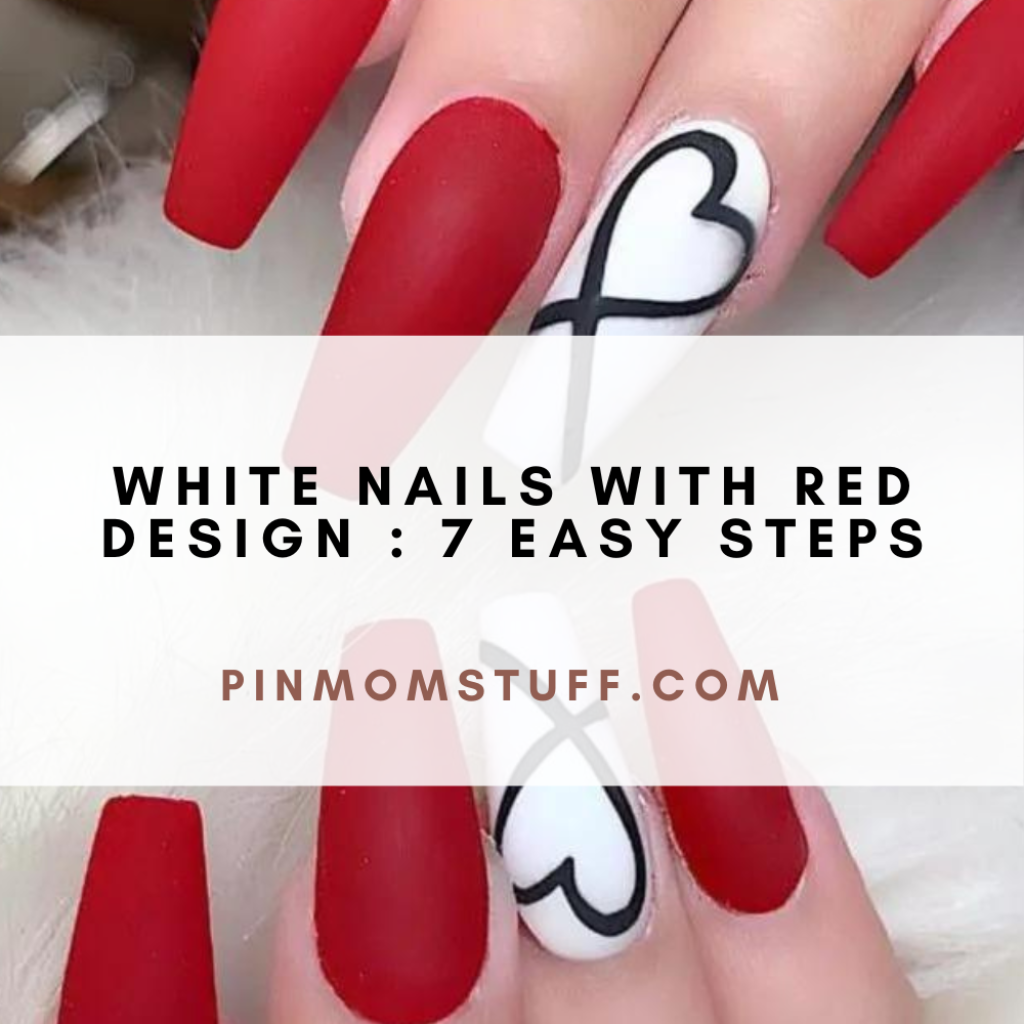
White Nails With Red Design : 7 Easy Steps – If you’re looking for nail art ideas that are simple, but still a little bit different, look no further than a white-and-red design.
It’s easy to do with only three colors and takes just one day to complete.
First, apply a base coat and let it dry.
First, apply a base coat and let it dry. The base coat is important to protect your nails from staining, peeling or discoloring. By using a base coat you are also protecting the polish from chipping and cracking as well. A good quality topcoat will help your polish last longer and look better!
Then, paint two coats of white polish.
When choosing your white polish, make sure it’s opaque and high quality. You’ll also want to use a white that is easy to apply and has good coverage so you don’t have to spend time applying multiple layers.
Next, use a nail art brush dipped in red polish.
Next, use a nail art brush dipped in red polish to make a triangle at the tip of your nails. This will be the base for your white winged design.
Create a small turning point on the left side.
Create a small turning point on the left side. Use a nail art brush dipped in red polish, and create a small turning point on the left side of your nail.
Go back and forth, making zig zags on the right-hand side. Starting from the top corner of your nail, go down about 1/3rd of an inch and make a straight line going toward the center of your nail (this should be about halfway between where you started drawing lines).
Then draw another line that goes from where you just made one to meet with it at some point near where it began (but not directly next to it).
Repeat this process until all sides are covered with lines; go over some areas more than once so they appear darker than others.
Take a small dotting tool to make some dots below the triangle design Draw two dots at equal distances apart between each pointy corner or line segment that makes up your triangle design; these will serve as guides for what color(s) we’ll paint there later!
Then, go back and forth, making zig zags on the right-hand side.
Once you’ve finished the zig zag design, go back and forth, making zig zags on the right-hand side. This will create a nice balance when you’re looking at your nails from afar.
If you haven’t tried doing this nail art before, don’t worry! It’s really easy to do—and even better, it’s also really fun.
Take a small dotting tool to make some dots below the triangle design.
Once that’s finished, take a small dotting tool to make some dots below the triangle design. Use red nail polish and work quickly so that the polish doesn’t dry before you’re done.
Make sure to let each of your nails dry completely before moving on to the next step!
Let it fully dry and apply top coat once your design is all finished up!
Once you are done with the design, let it fully dry for at least 5 minutes. Then, apply top coat to seal in your design!
If you want a matte look, just use one or two coats of top coat and don’t worry about any smudging.
However, if you prefer a shiny look on your nails and/or need to protect them from chipping or cracking (especially if they’re acrylics) then go ahead and add 3-4 coats of top coat!
But don’t use too many or else the design will become blurry!
Conclusion
We hope that you enjoyed this tutorial! It’s a very simple look that can be done in just a few steps and will last for a long time.
If you have any questions or would like some more tips on how to perfect your nail art skills, feel free to comment below.


